888-258-7913



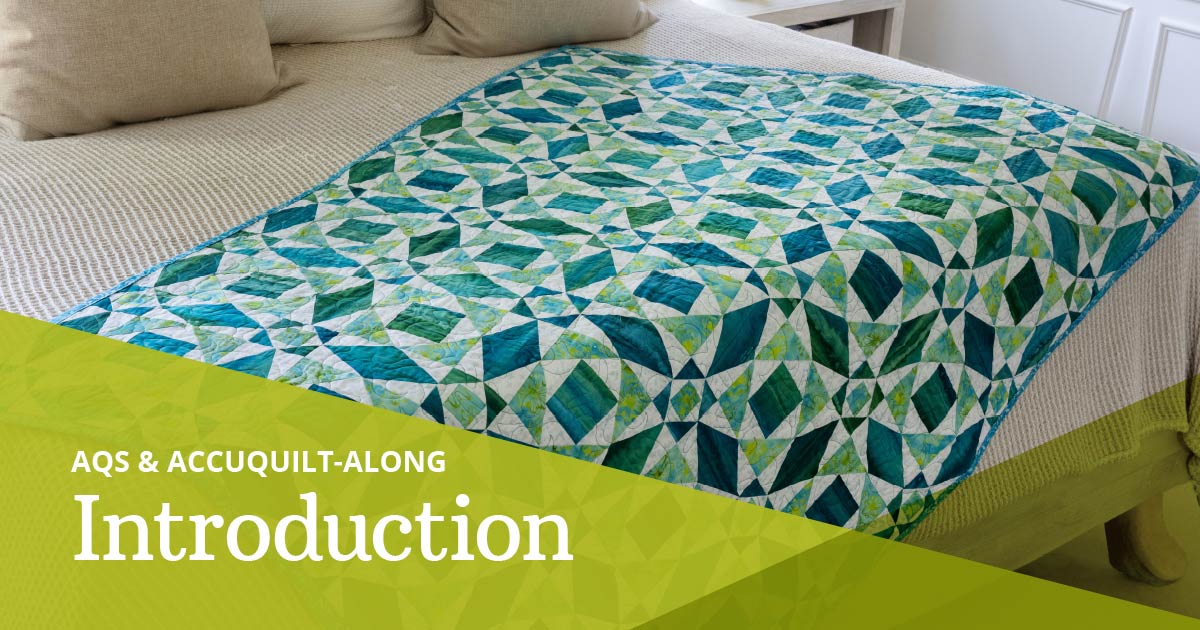
Can you believe it’s time to start our final project together for the year? It seems like we just got started with our Tangled Star project and here we are! For our final Quilt-Along for the year, AccuQuilt Cutting Expert Pam Heller and I have something very special up our sleeves! We’re going to be making a brand-new pattern written by Pam for the Classic Storm at Sea Throw Quilt, using the GO! Storm at Sea Block on Board die. Of course, we want everyone to join in the fun so our partners at AQS have provided traditional rotary cutting directions below and there is a link to a downloadable template for the Storm at Sea shapes.
-
 GO! Storm at Sea DieSpecial Price $149.99 Regular Price
$174.99You Save $25.00 -
 GO! Classic Storm at Sea Throw Quilt PatternSpecial Price $0.00 Regular Price
$4.99You Save $4.99
The Storm at Sea is one of those projects that I think many quilters have on their “quilty bucket list”, classics that they want to challenge themselves to create, and as a good librarian’s daughter, I felt the need to do a little research on the basic block to get us started. As always, my first stop is the Encyclopedia of Pieced Quilt Blocks by Barbara Brackman. Like many classic blocks, I found several references to different versions of the block, one by Coats & Clark and one attributed to the Kansas City Star in 1932.
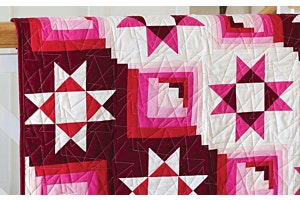
It's easy to see how the Storm at Sea block got its name when you step back and look at several blocks put together. This block is traditionally found in 3 colors – a dark, a medium and a light. The use of the diamond in a rectangle and square in a square shapes give the appearance of curves, but with only sewing straight seams! Like so many classic blocks, the use and placement of color makes all the difference with this block, giving the creator the ability to dramatically change the look of this block.
Block Options
One of the reasons we are “sew” excited about this project is the amount of personalization that can be achieved simply by using one block. As always, Pam and I will be using the GO! system to create our projects. The GO! Storm at Sea Block on Board, or BOB die has all the pieces that you will need to create this project on one die board. In one pass through a GO! or GO! Big Fabric Cutter, you can create what I like to call a “single sashing” block. By itself, this block looks off-center, but combined with others, it comes together to create the classic look of waves.
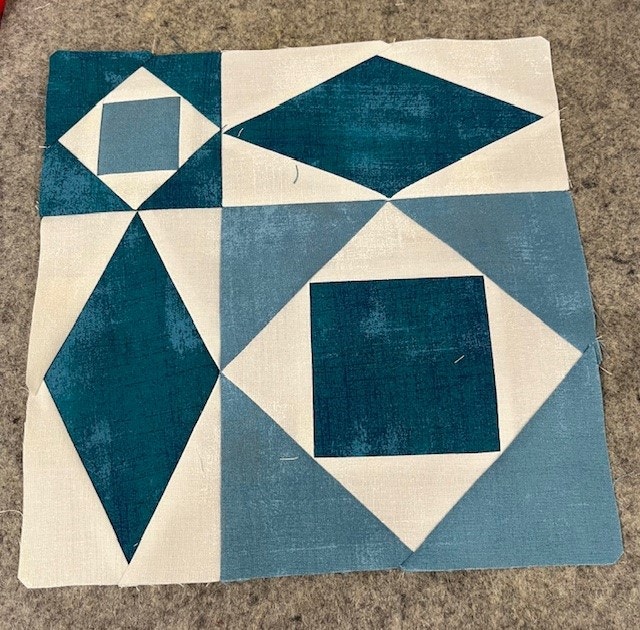

With a second pass through the cutter, you can cut a “double sashing” block. This block looks like a traditional block, but when placed with other identical blocks, it creates the look of having a double sashing. The double sashing completely changes the look and feel of the project and changes the secondary designs. Both are wonderful, just different!
Storm at Sea Patterns
We have several wonderful patterns available at accuquilt.live for creating a variety of projects all based on the basic Storm at Sea block, and if you’re welcome to join in this project by making any version that you would like. I’ve even seen the color used to create the look of hearts with this block, and Pam made a block that looked like an alien, at the suggestion of a quilter at an event!

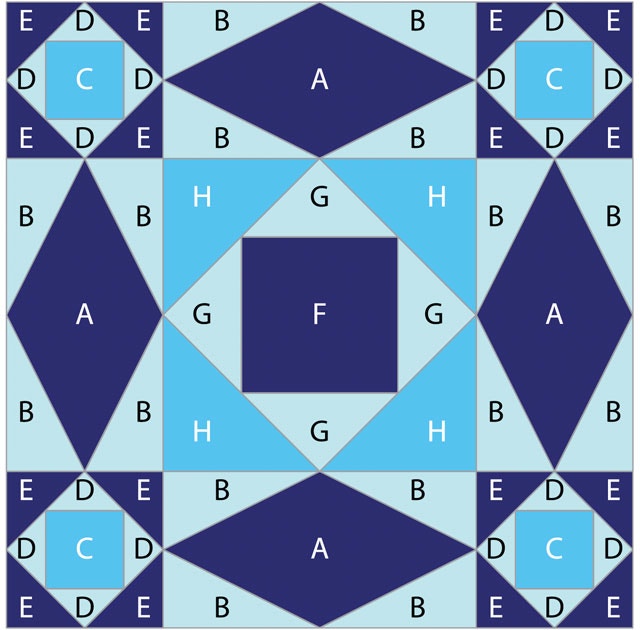
As you look through the various Storm at Sea patterns on our website, you’ll see that they include two made with GO! Qube Mix & Match and Companion Set Angles. How is this different from the Block on Board that we are using? The biggest difference will be found in how your Diamond in a Rectangle unit is constructed. With the GO! Storm at Sea Block on Board die, the diamond shape is one complete piece and with the GO! Qube version it is created by sewing together 2 Triangle in a Square units.
Here's the GO! Qube 10" Storm at Sea Throw Quilt.
-
 GO! Qube 10" Storm at Sea Throw Quilt PatternSpecial Price $0.00 Regular Price
$4.99You Save $4.99
The GO! Tornado Storm at Sea shows the difference double sashing - and color placement - make in the overall design.
-
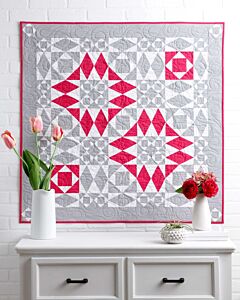 GO! Tornado Storm At Sea Throw Quilt PatternSpecial Price $0.00 Regular Price
$4.99You Save $4.99
Think about adding applique like the GO! Storm at Sea Life Medley. This project is created using the GO! Qube Mix & Match 8" Finished Block and Companion Set Angles.
-
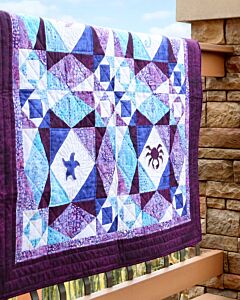 GO! Storm at Sea Life Medley Throw Quilt PatternSpecial Price $0.00 Regular Price
$4.99You Save $4.99 -
 GO! Sea Life Medley DieSpecial Price $99.99 Regular Price
$114.99You Save $15.00
Traditional Cutting Directions
These directions were prepared by our partners from AQS.
Note: All cuts have been arranged in size order because this is the order they should be cut.
Dark:
- 82 Template A
- 35 squares 3 1/2" x 3 1/2" (Shape F)
- 96 squares 2 3/8" x 2 3/8": cut each square diagonally once to make 192 triangles (Shape E
Medium:
- 70 squares 3 7/8" x 3 7/8": cut each square diagonally one to make 140 triangles (Shape H)
- 48 squares 2" x 2" (Shape C)
Light:
- 164 Template B
- 168 Template B Reversed
- 35 squares 4 1/4" x 4 1/4": cut each square diagonally twice to make 140 triangles (Shape G)
- 48 squares 2 3/4" x 2 3/4"; cut each square diagonally twice to make 192 triangles (Shape D)
Schedule
Here’s how the quilt-along will work! We will be making this project next month, starting on Oct. 2. Each Wednesday of the quilt-along, Pam and I will be working on our projects during AccuQuilt Live and there will be a blog post on the same day covering what we are doing for the week. All the shows are recorded and available to watch anytime on our website, Facebook page and YouTube channel. We will be sharing our progress and answering questions along the way on the AQS Quilting Project Parade Facebook page using #AQSews, and we hope you will join is there!
-
Wednesday, Oct. 2: Cutting and Organizing the Pieces
-
Wednesday, Oct. 9: Sewing Blocks
-
Wednesday, Oct. 16: Sewing the Top Together
-
Wednesday, Oct. 23: Show & Tell
You will want to print out the free, downloadable pattern found on accuquilt.live for the quilt assembly directions.
Fabric
This is always my favorite part of the quilting process – selecting the fabric! Here’s a look at what Pam and I will be using for our projects.
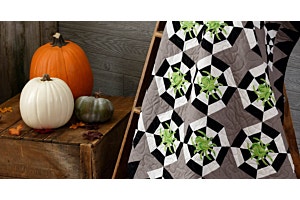
The pattern is written for 3 colors – a dark, a medium and a light. I’m staying with some watery-blues using Grunge by Basic Grey for Moda and Pam has opted for Halloween fabrics! This is a great reminder that you can make almost any quilt for any holiday, décor or season simply by changing up the fabrics. Be sure to have enough contrast between your fabrics to pull out the “look” of the quilt for you.


If you’re struggling on picking your fabric, here are two suggestions to make it easier. First, do you know where the quilt will live when it is done? If you’re like me and have no idea then do what I did and pick one fabric that you love. I adore the dark teal shade that I’m using – in fact, I used it to make a 2 color quilt a few years ago and my grandson loved it so much that it became his! If you’re using prints, be careful about the size of the print since some of the shapes are fairly small, and may not do justice to a large scale print. When in doubt, your local quilt shop is sure to be happy to give you a hand in picking your fabrics!
We Want to See!
Be sure to post pictures of your fabrics on the AQS Quilting Project Parade Facebook page using #AQSews, and we will see you on October 2 to get started!