888-258-7913



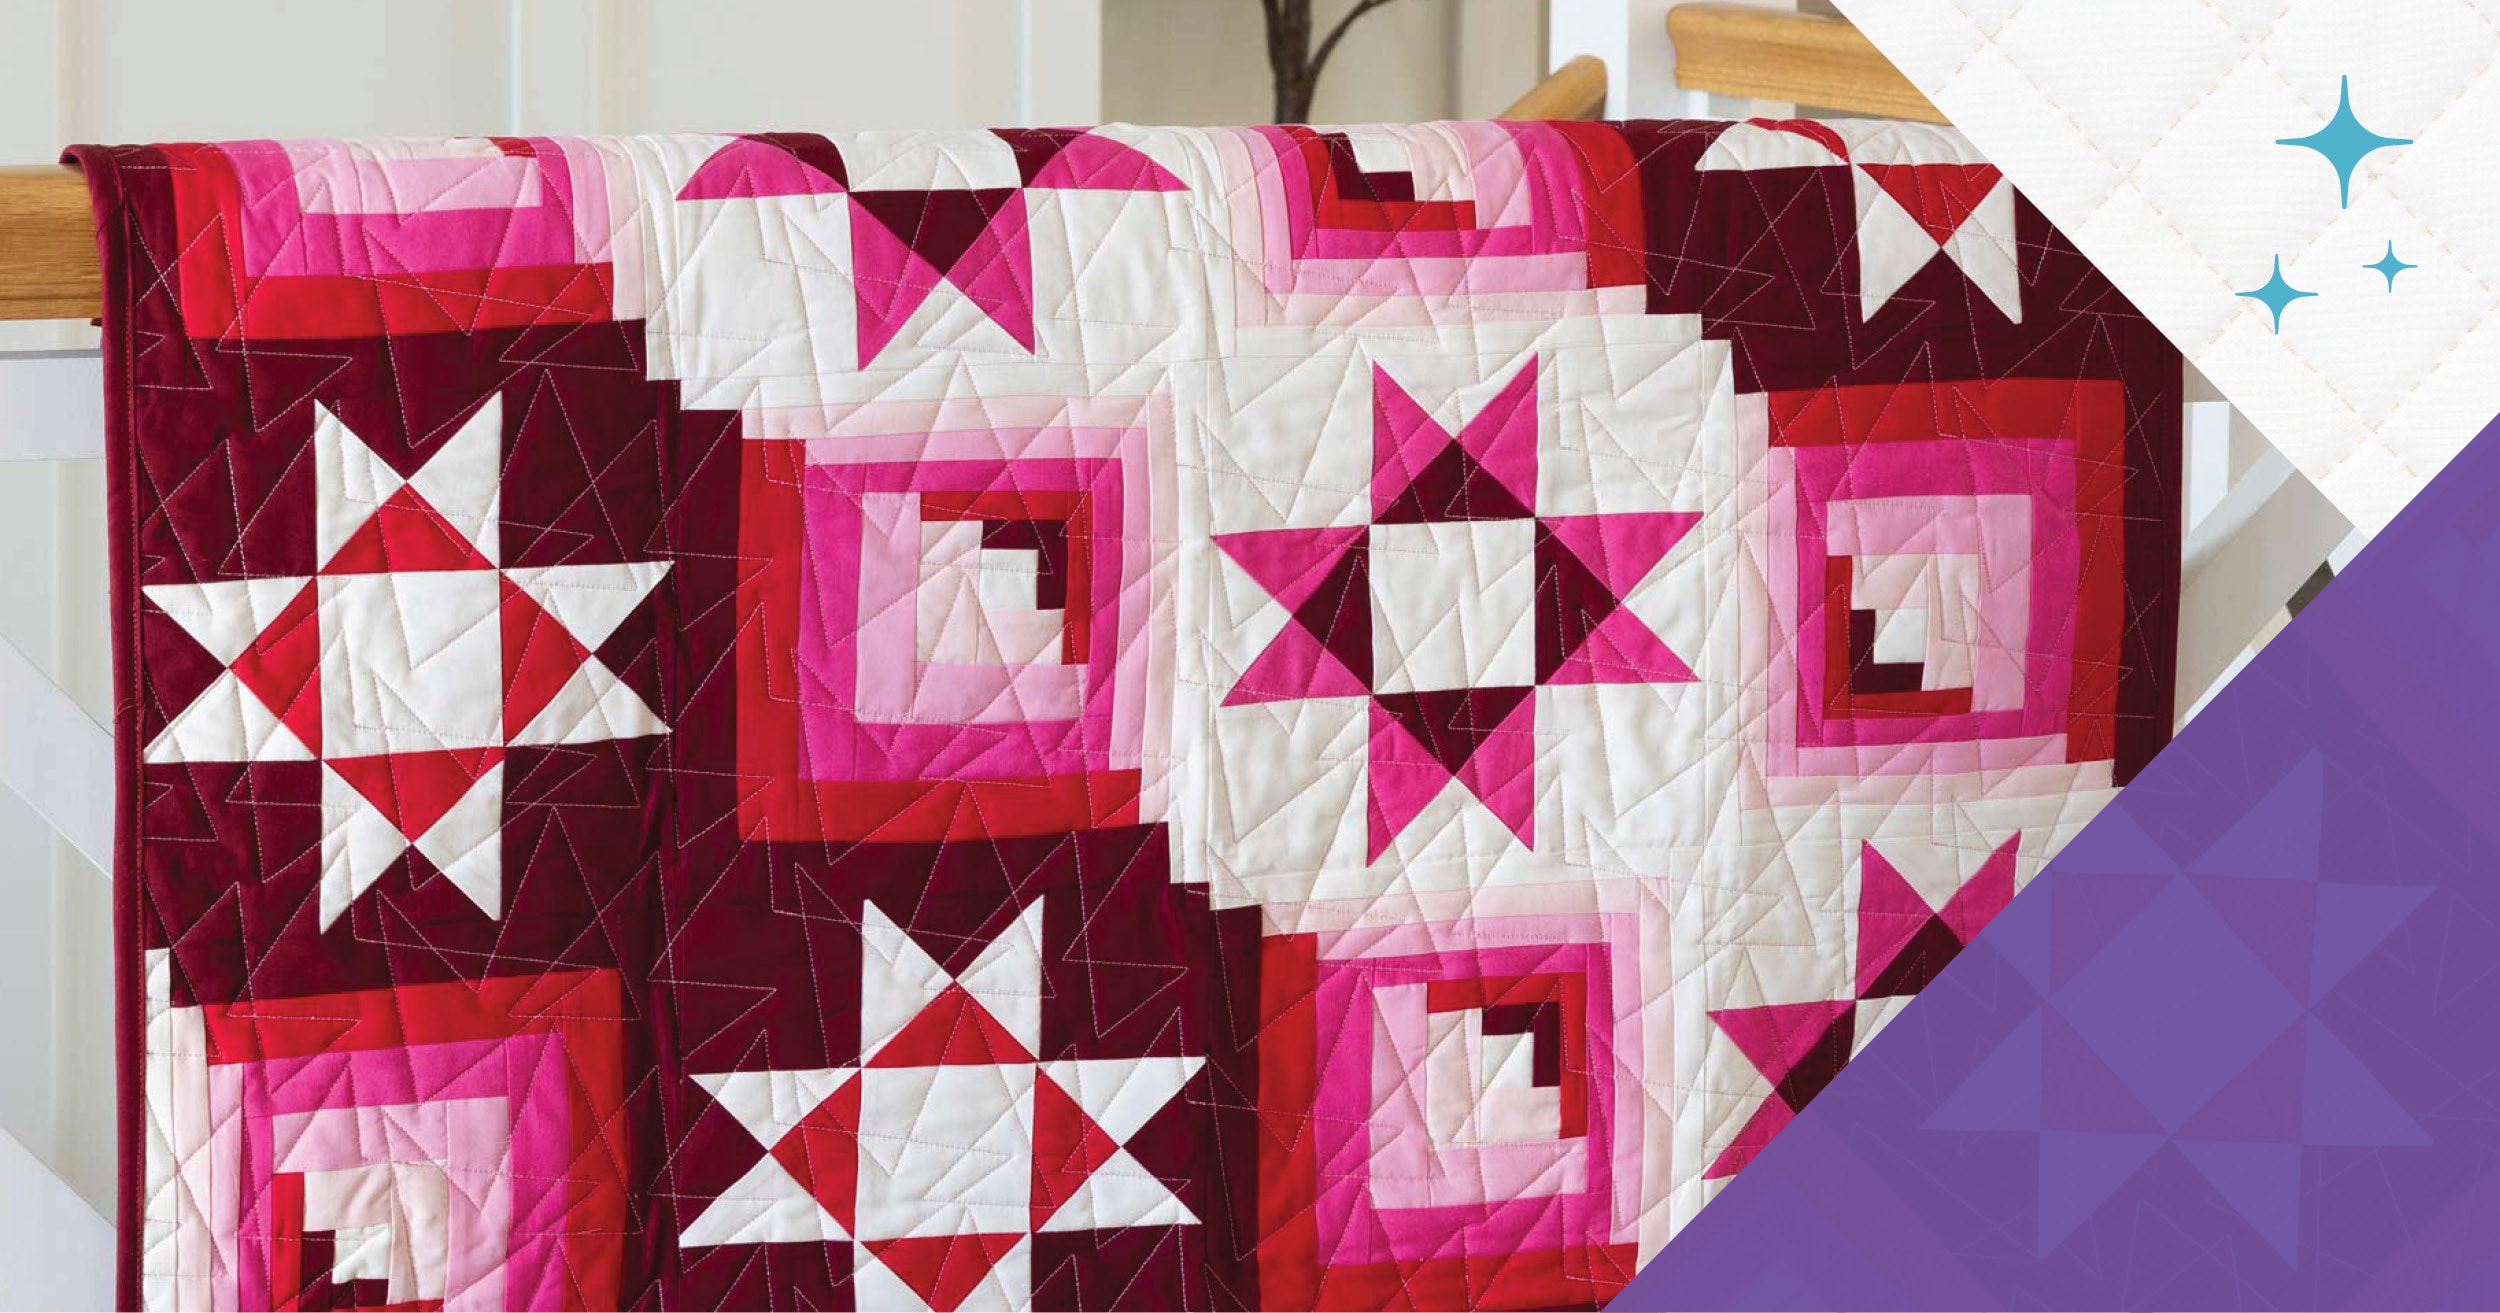
Welcome back to Part 3 of the GO! Curved Log Cabin Quilt Along! If you’ve already made your light A Blocks from Part 2, the dark B Blocks this week will feel very familiar—same shapes, same technique, different colorway. If you’re just joining the quilt along, no problem. Download the free GO! Curved Log Cabin Wall Hanging pattern from accuquilt.live and start wherever makes sense for you.
-
 GO! Curved Log Cabin-9" Finished Die (Die to Try, July 2026)Special Price $189.99 Regular Price
$219.99You Save $30.00 -
 GO! Curved Log Cabin Wall Hanging PatternSpecial Price $0.00 Regular Price
$2.99You Save $2.99 -
 GO! Qube Mix & Match 6" BlockSpecial Price $249.99 Regular Price
$410.90You Save $160.91

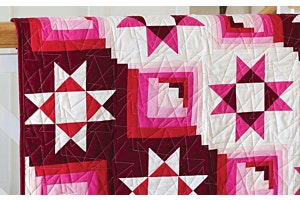
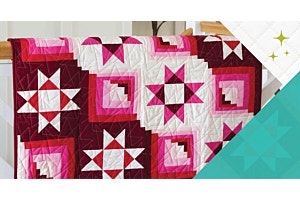
Part 3: The Dark Ohio Star B Blocks
The Ohio Star is built from just two shapes: a square and a quarter square triangle (QST). For a 9” finished block, both come from the GO! Qube Mix & Match 6” Finished Block.
The process this week is identical to Part 2, the only difference is you’re cutting and sewing your dark fabrics instead of your light ones. Follow the pattern for the specific cutting directions and colorway assignments for the B Blocks.
If you have a GO! Me Fabric Cutter, the quarter square triangle die that came with your cutter works for this block. You can also find a 3” finished QST on the GO! Big Snail’s Trail—12” Finished die (SKU 55460).
Pro Tip: Not sure which die has the shape you need? Download the free Cutting Equivalents Chart—it lists every shape and which dies cut it. Take it further with AccuQuiltable software, which lets you catalog your entire die library and search by shape.
Cutting Quarter Square Triangles: A Quick Reminder
Grain alignment is especially important with QSTs. As the die goes through the cutter, align the lengthwise grain of your fabric with the lengthwise blades on the die and line up your fabric with the shape on the die board, not the outer edge of the board itself.
Why grain alignment matters for QSTs: Quarter square triangles have bias on their short sides. Keeping the lengthwise grain properly aligned as you cut means those bias edges stay on the inside of the finished unit, where they’re controlled by seams, rather than on the outside edges of your block where they’d be prone to stretching.
Sewing the Dark Ohio Star Blocks
Step 1: Lay Out Before You Sew


Before picking up a single piece, lay all your triangles out in the correct position according to the pattern. QSTs are easy to mix up once you’re at the machine, a few seconds of layout saves a seam ripper moment later.
Step 2: Sew the QST Units
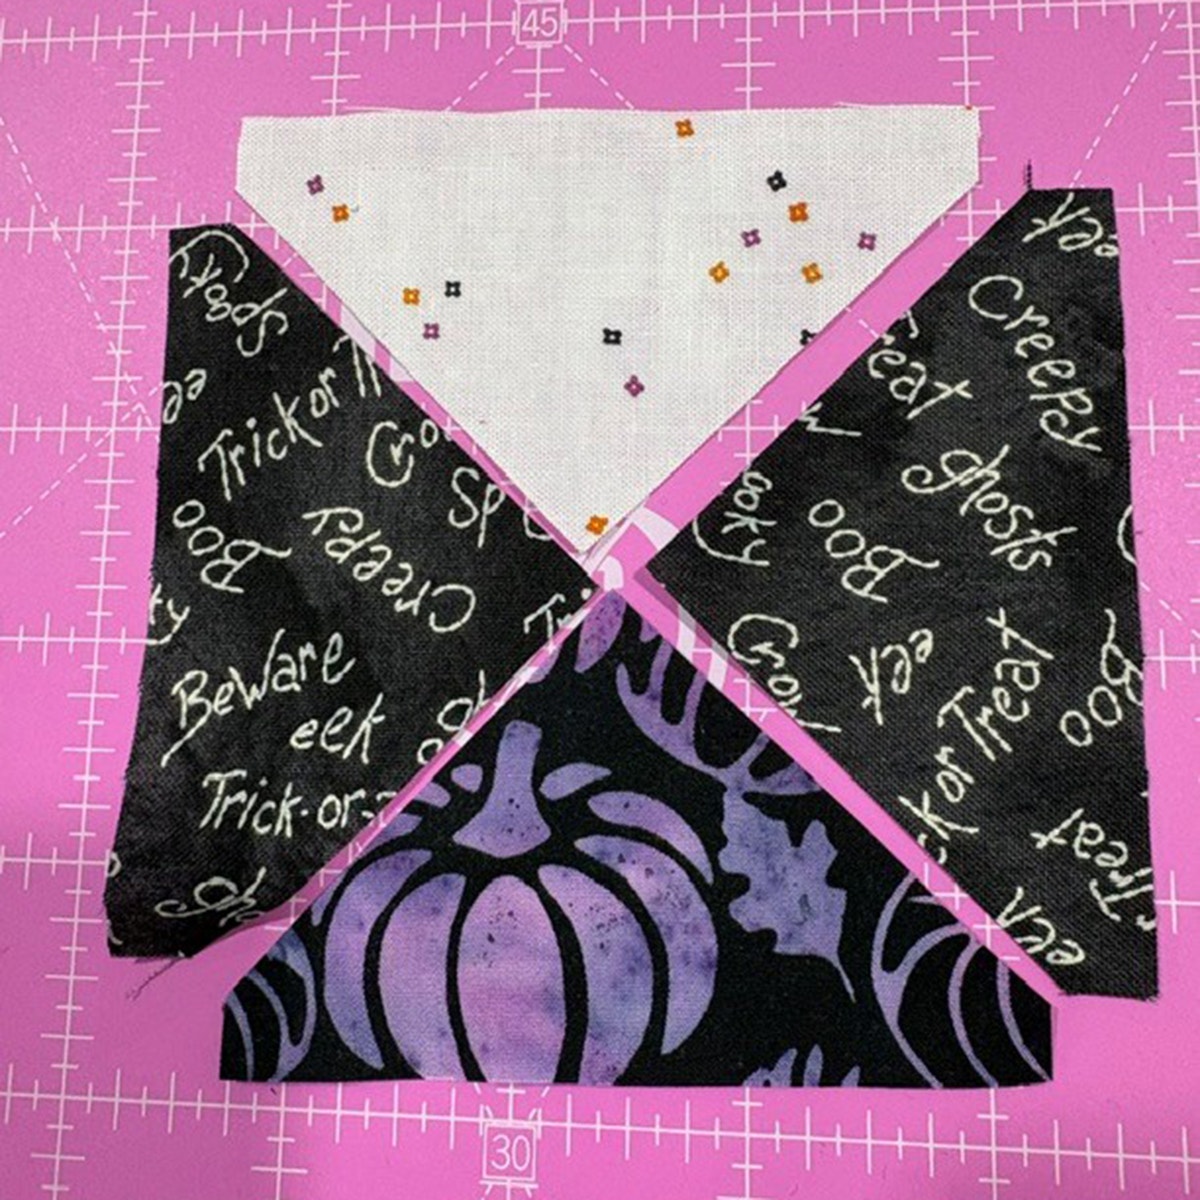
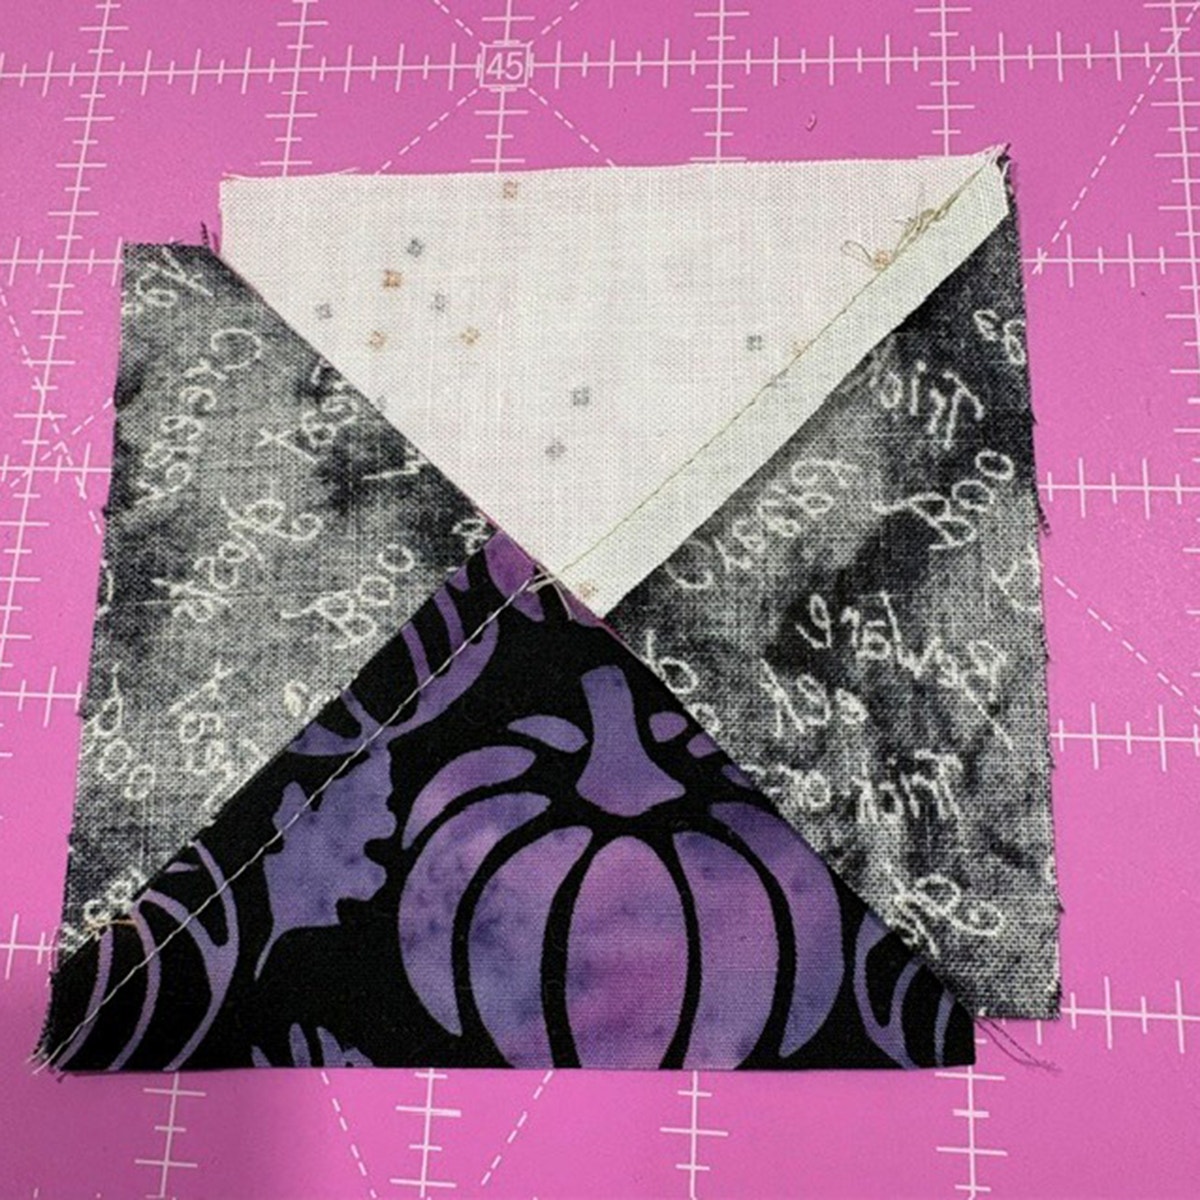
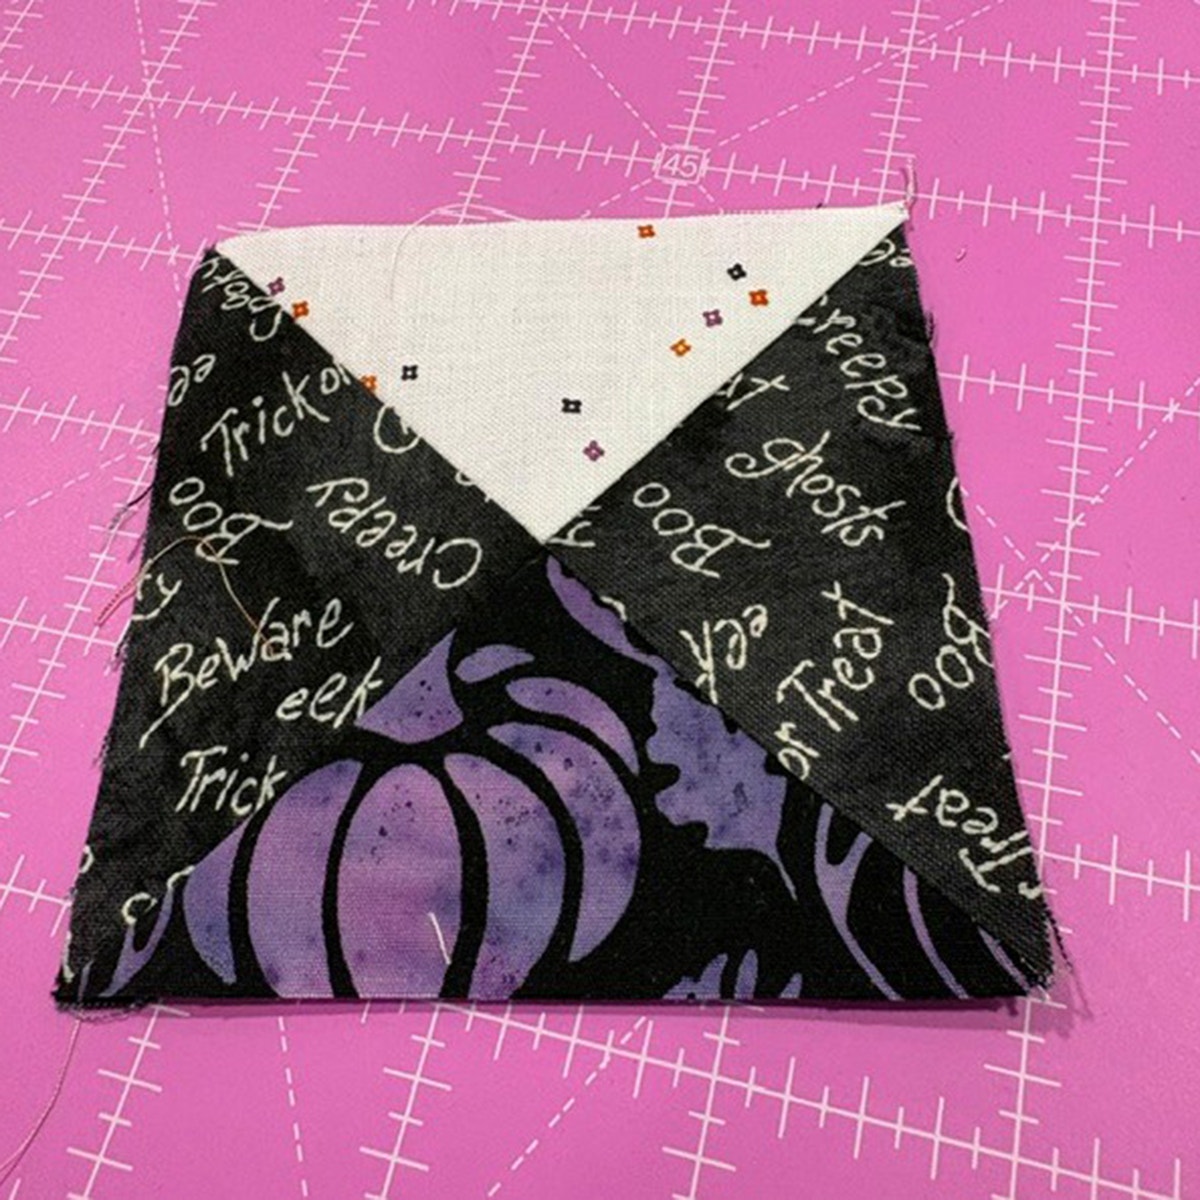
Sew the triangles together along their short bias sides to form half-square triangle units first, then join those to complete the QST unit. Press seams in opposite directions so they’ll nest when you assemble the full block.
Once the QST unit is complete, you can remove the first stitch or two at the center seam and open it up to reduce bulk at the points.
Step 3: Assemble the Block
Lay out all 5 squares and 4 QST units in the 9-patch arrangement before chain piecing your rows. Press seams toward the squares as you join each row, this lets the seams nest at the intersections and gives you clean, precise points.
With your 4 dark B Blocks complete, you’ll have all the blocks you need to assemble the full quilt top. That’s the focus of Part 4.
Frequently Asked Questions: Part 3
Is Part 3 different from Part 2 in any way besides the fabric color?
The technique is identical. The B Blocks use the same shapes, the same cutting method and the same sewing sequence as the light A Blocks from Part 2. The only difference is that you’re working with your dark colorway fabrics. If Part 2 went smoothly, Part 3 will too.
What if I don’t have the GO! Qube Mix & Match 6” Finished Block?
You have a couple of options. If you own a GO! Me Fabric Cutter, the QST die that came with your cutter works for this block. You can also find a 3” finished QST on the GO! Big Snail’s Trail - 2” Finished die (SKU 55460). For squares, the GO! Strip Cutter 3½” (3” finished) is an alternative. Download the free Cutting Equivalents Chart from accuquilt.live to find other compatible dies in your collection.
How do I find out which of my GO! dies cuts a specific shape?
Download the free AccuQuilt Cutting Equivalents Chart. It lists every shape and the dies that cut it. AccuQuiltable software also catalogs your die library digitally, making it easy to search by shape and see exactly what you have.
My QST points aren’t meeting up. What should I check?
Three things: first, confirm your seam allowance is a consistent true ¼” throughout. Second, check that you’re pressing seams in opposite directions, so they nest at the intersections. Third, make sure each triangle is in the correct position before sewing. A QST placed in the wrong orientation is the most common cause of points that don’t meet.
Can I still join the quilt along if I’m starting late?
Absolutely! Download the free pattern, catch up on previous parts at your own pace, and share your progress in the Under the Needle with AccuQuilt Facebook group whenever you’re ready.
Up Next: Part 4 – Quilt Assembly
Part 4 covers assembling the complete quilt top, bringing together the Curved Log Cabin blocks and both sets of Ohio Star blocks into the finished layout. It also includes a discussion of quilting options for the finished top.
Introduction | Part 1 | Part 2 | Part 4 | Reveal