888-258-7913



Hi! It’s Jen from Dizzy Quilter here to share my favorite sustainable quilt project.
Denim Is Always In Style
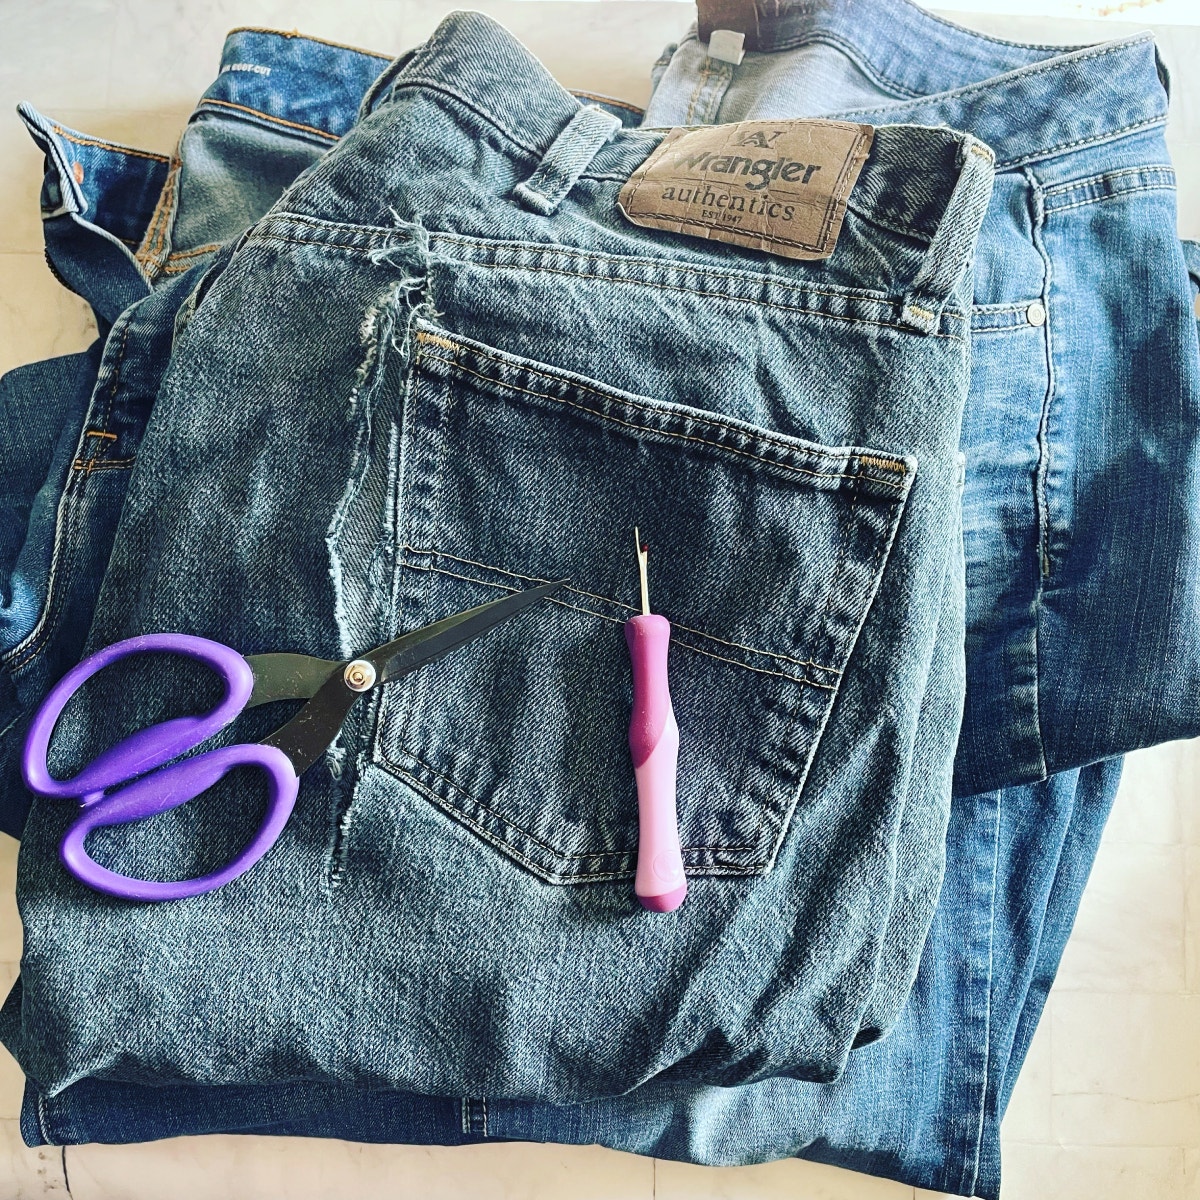
My family has gone through a lot of denim jeans over the years. The kids would rip their knees out and I wear out the inner thighs. My husband gets more "exotic" issues with his jeans. On one pair, he caught his back pocket and ripped the entire seat out. That was a surprise.
When it is just a matter of jeans that don’t fit anymore, they go to a thrift shop so that they can be worn by someone else. Jeans are too hard on the planet to cut up the ones that are still usable.
Once jeans are deemed too trashed for donation, they are ALL MINE! I have a tote bin of old jeans, and when it overflows, it is time to make a quilt.
Considerations for Working with Denim
There are a few options for taking old jeans apart:
- Unstitch the jeans. This is very time-consuming, but you do get interesting color pops. Jeans are constructed with the fabric dunked in a deep indigo-colored dye, then get washed out, so there is a super dark blue color in those seam lines.
- Cut the thick parts off and move on. Faster, but less fun and some of the denim goes in the trash. No judgment here, though. My deconstruction method depends on my mood that day.

Pro Tips
- You don’t want to sew through more than two layers. Your standard sewing machine isn’t built for that kind of abuse. No worries - I’m going to show you how to sew a denim quilt and never sew through more than one layer of denim at a time.
- Take off the pockets. There is darker denim under there, and also, that’s the biggest part of the jeans - you can get some nice large squares out of the seat.
- Two layers through a GO! Fabric Cutter is as far as I go. I’m wary of damaging my machine.

Do you love stretch denim jeans as much as I do? A girl has to be able to move, right? I use stretch denim in my quilts, too. It’s a little fussier to work with, but the way each piece is sashed with quilting cotton prevents the stretch from becoming a nightmare. I’m just a little more gentle when those pieces are under the needle - I try not to stretch them too much.
Make Your Own Upcycled Demin Quilt
Upcycling denim into a quilt is what I’m going to help you make today. I used several old pairs of damaged jeans. I can’t tell you how many you will need - it depends on the size of jeans you have.
I can tell you that I had three pairs of ladies size 16, a few men's 40x30, and some random legs I found in a bin. Don’t bother with kid jeans, unless they are really sentimental. They are the same amount of work to take apart, and you only get small pieces.
Fabric Needed
- 2 yards of black solid
- About 3 yards of denim
- 54” x 70” of batting
- 4 yards of backing
AccuQuilt Dies
- From the GO! Qube Mix & Match 9" Block
- GO! Strip Cutter 2 1/2” (2" Finished) 3 Strips Die (for binding)
- GO! Strip Cutter-1“ (1/2" Finished) 7 Strips with Angled Guidelines Die (for sashing)


Cutting the Fabric
Denim
- Using shape 1 - 48 pieces
- Using shape 2 - 63 pieces
- Using shape 8 - 128 pieces

Black Cotton
Cut five strips width of fabric (WOF) x 7 ½”. Using the 1” Strip Cutter Die, cut 35 pieces at 1” x WOF strips. Set aside 12 pieces for long sashing. Subcut 112 pieces at 1” x 5” strips and 96 pieces at 1” x 2 ¾”
If you hate using your rotary cutter, go ahead and fan-fold your 1” strips, then lay them onto your shape 1 and shape 2 dies to cut the sashing segments.
Sewing
Piece your vertical rows following the quilt layout. You will have seven sets of rows alternating shape 8 (rectangles) and shape 2 (smaller squares), and six rows alternating shape 1 (larger squares) and shape 2. Stitch the corresponding size of sashing between each piece. Press the seams towards the sashing.

As you complete each vertical row, lay it out on your design surface to make sure you are happy with the color distribution. Once you are satisfied, add the long vertical sashings - like I have it laid out below.
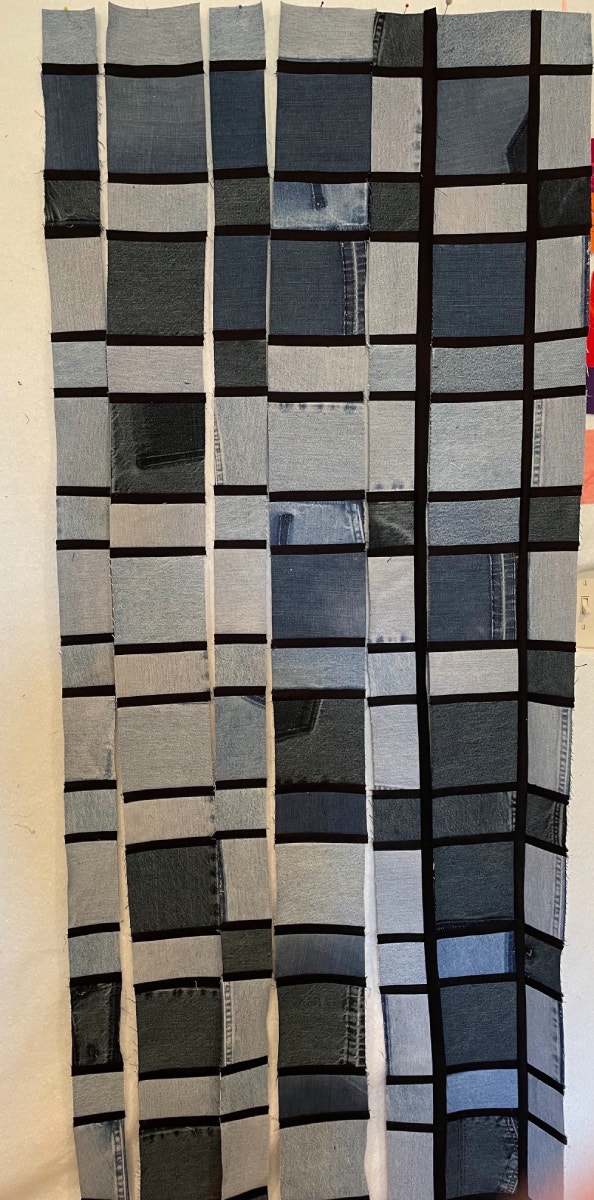
The back of your quilt top should look like mine below. Notice that you will never have to sew through more than one layer of denim.
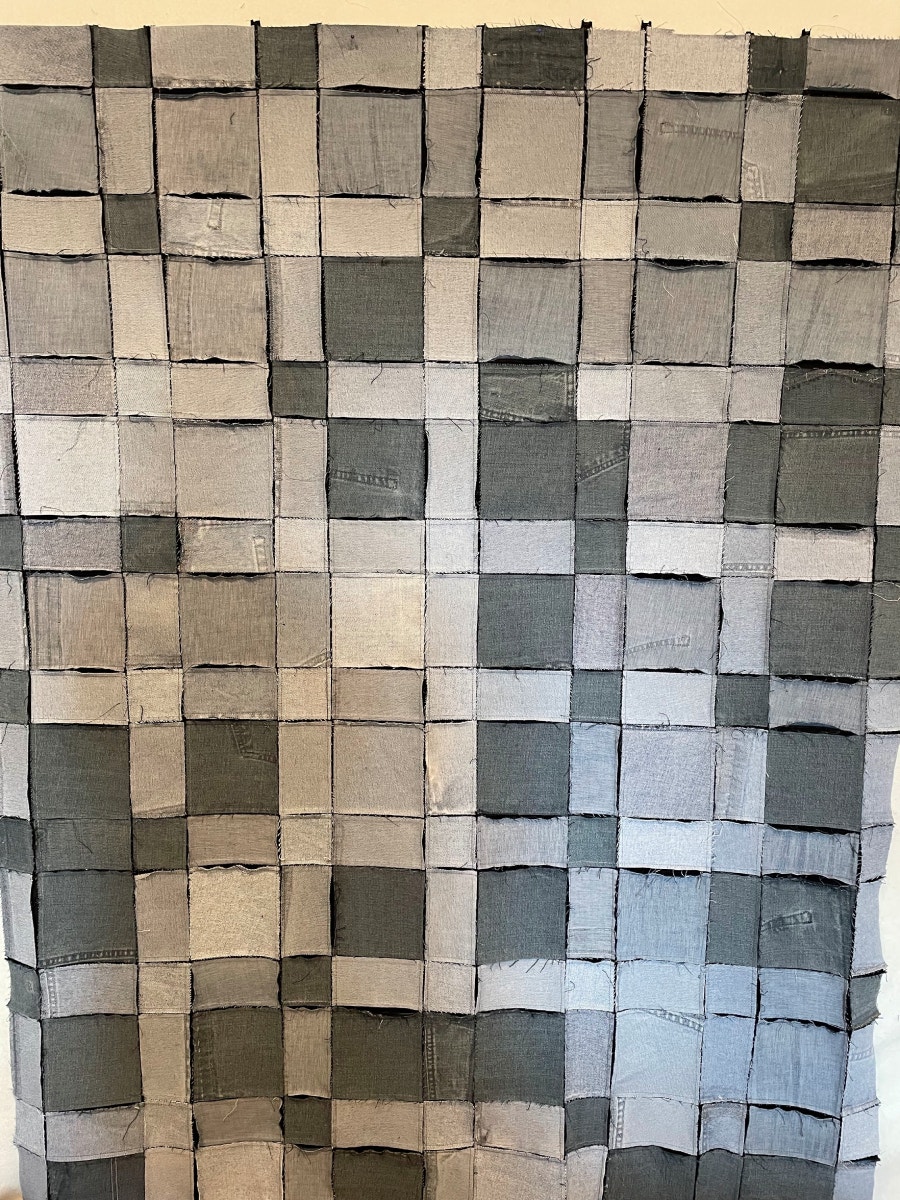
When assembling the rows, be careful to line up the sashing seams. It is a little fussy, but the extra step is worth it. I lay the row out on my sewing table and line up the sashing lines as best I can and pin each one in place. I think the extra attention to detail is worth it.
I also stitch with the denim side up and the sashing side down. That keeps the edge of my foot from catching on the edge of the denim and pushing things around.

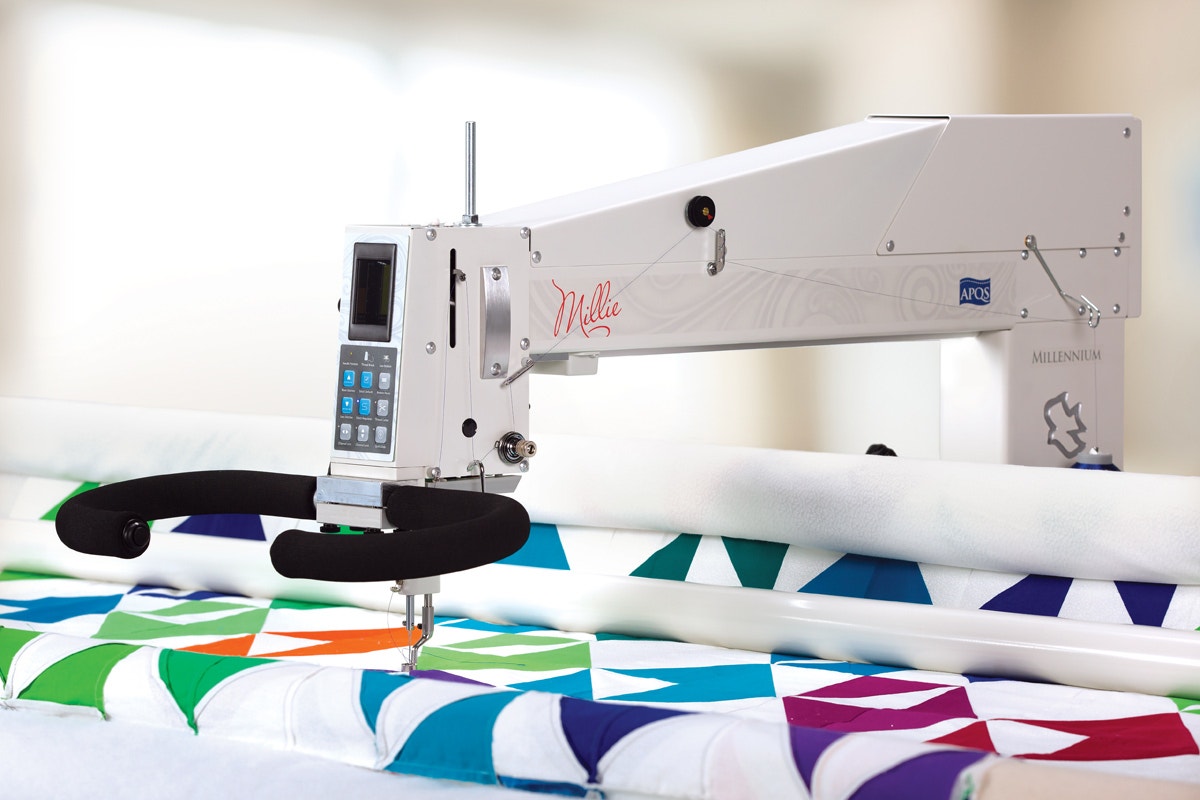
Give your assembled top one more good press, then quilt as desired! I quilted it on my longarm sewing machine using Retro Lines, a pattern by Kristin Hoftyzer. Bind using black to match the sashing for a stained glass effect and the finished size measures 65” x 49”. Don't forget to add a label and enjoy your quilt!
“Exploding Heart” Mania Has Hit
Join hosts Pam and Erica for a live virtual event on April 26 and meet Laura Piland from Slice of Pi Quilts. She’s the designer behind the sensational “Exploding Heart” that’s been taking social media by storm ever since she shared her first picture!
Learn how Laura was inspired to create this design, what dies to use to make it yourself, and how she’s adding to her pattern collection with another great GO!-friendly design. Laura will also be sharing some heartwarming stories about her journey with this popular pattern, and Pam and Erica share their progress in creating their own versions.
Register for the event to qualify for exciting door prizes!