888-258-7913



Hi, it's me Bea again from beaquilter.com.
My girls love to draw and sketch and always get lots of markers/pens, pencils, etc. so here I made an embroidery zippered pouch for my 5-year-old's markers and crayons!It measures about 4" x 8" (but you can really make it any size you want).

Here's what I used to make it.
1 FQ
scrap of white
1 matching zipper with plastic teeth (it was longer than 8" and I trimmed it later)
scraps of batting
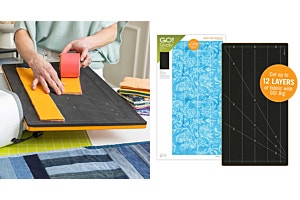
the 4 1/2" strip die
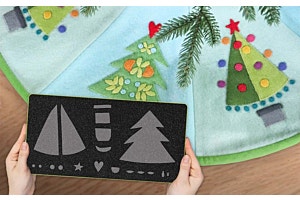
and the 2", 3" and 4" heart die
and I machine embroidered the heart and used Marjorie's "scallop hearts" files.
First I ironed and folded the FQ in half and laid on the die
(I flipped the fabric below)

So I'd have 2 sets of 4 1/2" x9"(folds)
I then trimmed these to 8 1/2" so there's 4 pieces!

I then used a scrap of white fabric and added heat n bond lite on the back and cut out the 2" heart

Then I loaded the file into my embroidery machine and prepped the fabric with stabilizer and used a 4" hoop and centered one piece of the 4 1/2" x 8 1/2" fabric and stitched the outline stitch

Then with a mini iron, I first removed the paper backing off of the heart and pressed the heart in place

then finished stitching (sew cute)!

I cut two pieces of scrap batting to 4 1/2" x 8 1/2" like the fabric pieces and found a matching zipper.

Now here's the "tricky" part (I always have to look this up to make sure it's right)!
Lay out batting, then a front piece, then zipper right side DOWN at the top, then a lining piece.
(Of course they should line up perfectly and be flat, I just moved it out for the picture)

With a zipper foot, carefully sew about 3/8" from edge, the stitch line should be close to the zipper teeth, the foot helps and you'll "feel" how it lines up.

It should look like this when done.

Now lay out batting and another front piece like before

The lay out the zippered unit with zipper right side DOWN and lining up to the top again,

then remaining lining piece with right side down and lining it up with the top edge of zipper (and piece underneath)
-it WILL be a bit off at the bottom as you can see, that's correct!

Sew that together as before and

now you should have it look like this with lining pieces facing up but zipper facing down

and like this if you flip it.

Now trim the zipper to the same length as the pouch and unzip it half way,

then match up the front pieces and the lining pieces like this and pin.

Then with a walking foot stitch around the edges but leave a few inches open by the lining for turning and go slow around the sides where the zipper is! as long as the teeth are plastic it would work just fine.

Trim the corners, I trim more than just 45 degrees.

Turn right side out and make sure the corners are crisp.

Then whip stitch the opening of the lining closed with needle and matching thread,

now stuff lining back into pouch and it's DONE!

worked great for my daughter's markers!

As I mentioned above, you can make these pouches in any size you want :)
They are fast and fun!